
If you want to make your designs look more professional and creative, placing text behind an object in your image is a powerful effect. The good news? You don’t need Photoshop you can do it for free in Photopea, an online photo editing tool that works right in your browser.
Follow this beginner friendly step-by-step tutorial and you’ll be able to create stunning layered text effects in no time.
Step 1: Launch Photopea and Open Your Image
- Open Photopea in your browser.
- Go to File → Open and select the image you want to work with.
Step 2: Add Your Text
- Select the Text Tool (or press T on your keyboard).
- Click on the canvas and type the text you want to place behind your subject.
- Customize the font, size and color in the top menu bar.
Step 3: Arrange Layers
- In the Layers panel, ensure the text layer is above the image layer.
- This way, the text appears in front of the image before masking.
Step 4: Select the Object
Now, let’s define the object you want the text to appear behind.
- Use a selection tool:
- Quick Selection Tool → Click and drag over your subject.
- Pen Tool → Click anchor points around the subject, then right-click → Make Selection.
💡 Tip: Zoom in for a precise selection. The cleaner your selection, the better the final effect will look.
Step 5: Create Layer Masks
- With the object still selected, click on the image layer.
- Hit the Add Layer Mask button at the bottom of the Layers panel. This hides everything outside your selection.
- Next, click on the text layer and again hit the Add Layer Mask button.
Step 6: Hide Parts of the Text
- Press B to activate the Brush tool.
- Choose a soft round brush and set the foreground color to black.
- Paint over the text layer’s mask to hide the parts of the text that should go behind the object.
- Made a mistake? Switch the brush color to white and paint to reveal the text again.
Step 7: Refine Your Mask
- Zoom in on detailed areas where the text overlaps the subject.
- Adjust brush size and carefully paint to ensure clean, sharp edges.
Step 8: Final Adjustments and Saving
- Play with text effects like drop shadow or blending options to enhance the depth.
- Reposition or recolor the text if needed.
- Once done, go to File → Export As and save your image as JPEG or PNG.
Conclusion
That’s it you’ve just learned how to place text behind an image in Photopea.
This simple technique can make your graphics look dynamic and professional, perfect for social media posts, posters or digital designs. With a little practice, you’ll be layering text like a pro without needing offline Photoshop.
Read more
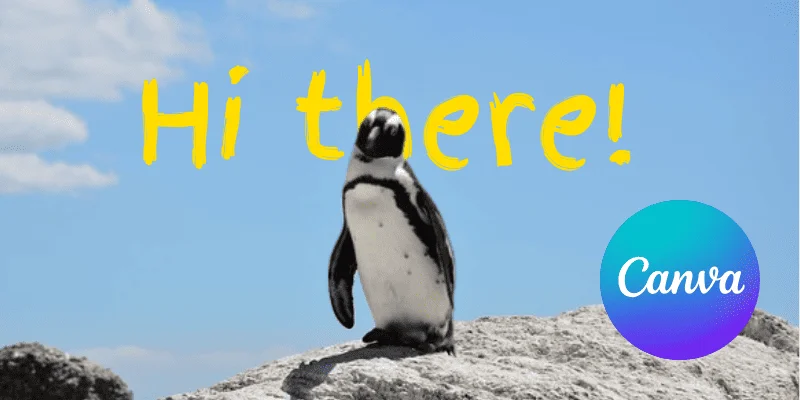
How to Put Text Behind an Image in Canva (No Photoshop Needed)
Learn how to easily place text behind an image in Canva without using Photoshop. A simple step-by-step guide for beginners to create professional designs.
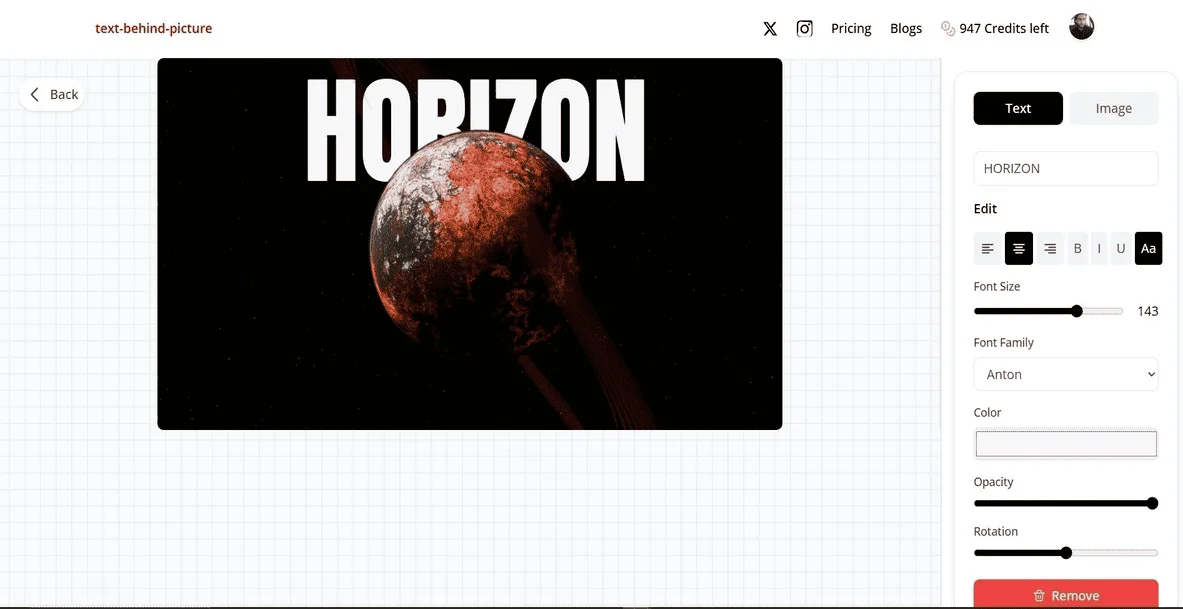
Put Text Behind Images Online for Free (Step-by-Step with TextBehindPicture.com)
A complete beginner’s guide to placing text behind objects in your photos for free using TextBehindPicture.com. No Photoshop or editing skills needed.

Why TextBehindPicture.com is the Easiest Way to Put Text Behind Effect
Discover why TextBehindPicture.com beats Canva and Photopea for putting text behind objects in images. A simple, free, and beginner-friendly tool for stunning designs.